Archive for the ‘Main Fuse’ Category

Picking It Back Up

November 26, 2012

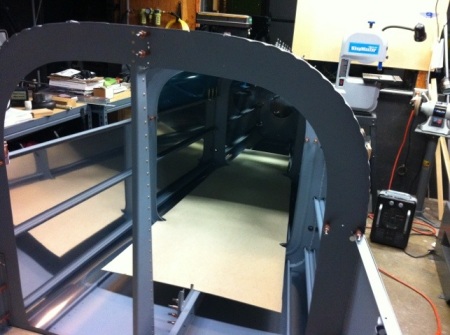
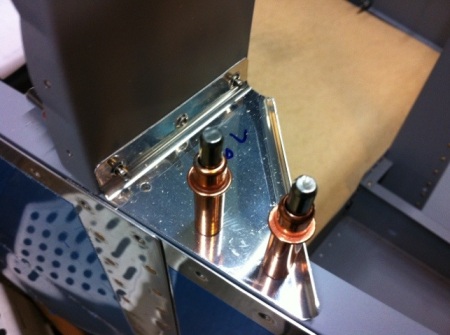
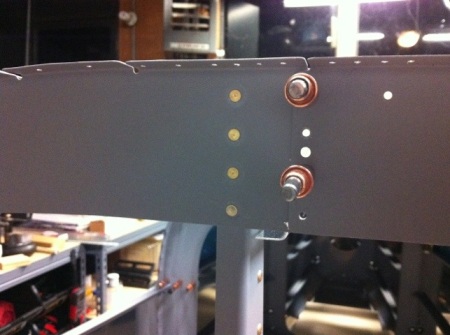
Well the airplane factory is back up and running after an extended hiatus. I actually took August and September completely off for a family vacation and being outdoors in the NW Sunshine as much as possible. In October after persuading the spiders to move out of the garage, I finished some small tasks on the fuse. I mounted the outside mount for the fuel line cover on the front spar and finished prepping the fuel tank to fuse mount. I spent a weekend taking the EAA Electrical workshop. That was very helpful to start understanding the basics of aircraft electrical systems and methods.

In November I was able to get rudder cable install started, drill the holes for the static air probes and squeeze more rivets at the 705/longeron intersections. The turkey day holiday has given me time to concentrate on building the canopy frame.

With my new momentum I’m hoping to knock out the canopy frame and temp the forward deck together in the next month. Then it’ll be time to paint the inside cabin with its final color!
20121125-190110.jpg

20121125-190233.jpg

Baggage

January 30, 2012

Today I worked mostly in the baggage area. The floors are drilled, deburred, and dimpled. I’ll just need to prime them now. The F-750 side walls were riveted on. The rudder cables will need to be feed through the bulkheads behind this panel so I left some string sitting in the holes to pull the cable through. Finally I carefully countersunk the side rails above the arm rests. Other than cleaning up a few holes, I should be ready for a mass priming session next weekend. Here’s hoping for a warm front on Sunday.

20120130-003328.jpg

20120130-003343.jpg

20120130-003359.jpg

Odds and Ends

January 23, 2012

20120123-000409.jpg

After some business travel and a crazy week of snow here in Seattle, I finally got back to the project this weekend. It took me awhile to remember all the half completed tasks that needed finishing. So this weekend was dedicated to an assortment of small things. In no particular order:

–I made some temporary floor boards so can crawl on the inside of the fuse now.

–I finally torqued the bolts holding the 705C spacers.

–The F-728 vertical channel got riveted to the 706 bulkhead.

–I drilled the remaining holes on the F-707B bracket to attach the F-787 Stiffener rib to the 707 bulkhead.

–Lastly I drilled and dimpled the remaining gusset plates that tie the 706 and 707 bulkheads to the longerons.

20120123-000443.jpg

20120123-000758.jpg

20120123-000820.jpg

20120123-000836.jpg

I Love Brackets

January 12, 2012

I must because I made the same one three times tonight. Probably lack of sleep this week has softened up the synapses. Basically I spent a frigid evening attaching a stiffener rib between 707 and 706 bulkheads. I got one J-channel trimmed down as well. I ran out of steam with the cold weather and covered her up for a few days of non-activity. See you next week!

Top Skins

January 11, 2012

This weekend I got the last two skins out of the closet for fitting. Fitting is simple enough but there’s some details to pay attention to for sure. I have to go back and tweak all the flanges for a better overall fit. They went on without much hassle after that. The J-stringers ended up being a tad too long preventing a few of the holes in the 706 falnge from lining up properly. I went ahead and drilled everything on the stringers and the flanges except for these few holes.

I have a lot of little details to pick off this week before I can put the top skins back in storage. Hopefully I can find a weather window to get some priming  done as well.

Bracketology

January 10, 2012


The side gussets and rails are installed next. The gusset provides the anchor for the cabin frame as well as a slot for the canopy latch. The holes were straightforward to cut. After drilling (4) 1/4″ inch holes for the radius on each corner, I filed into shape and drilled then into place with the rails and the 705 bulkhead.

Here’s the final position. I’ll need to come back and countersink the rail rivets and the middle rivets of the gusset/longergon/705G interface as the cabin frame will mount directly onto this area.

For now though, on to the forward gusset. This is a deceptively tricky fit so I’ll kinda show my step by step process if anyone might need some reference later. First the front edge needs to be trimmed to fit flush against the firewall. You can’t revmove too much though because you still need to spread 14 size -4 rivets along the long dimension.

I had to shorten the spread on the last two rivets to get everything inside the edge clearance needed after modifying the front edge of the bracket.

Next I bent the short dimension where the gusset snugs up to the firewall so that it would lay flat on the firewall angle. I also increased the bend where the gusset overlays the longeron so there would be good contact between the parts. I used my table-top break and my big bench clamp to do all the subtle bending.

Once the gusset nested nicely, I drilled #40 pilot holes for both dimensions of the gusset.

Then I opened the holes up to #32 and finished them up with a #30 reamer carefully checking the angle of the drill to keep the holes straight.

Aft Deck

January 10, 2012

I finally got to reassemble the fuse stand I got from another builder. It’s been sitting in the corner of the garage for the last year in pieces. Now I can wheel the fuse around a bit and it’s nice and level—on to the aft deck.

There was a touch of twist that was easily corrected with the clamps. Here’s the deck all drilled with no twist. I’ll wait to rivet till I collect enough parts to prime.

I also made a couple of repairs to tabs on the bulkheads that I double drilled. My solution was to JB Weld some extra tabs on top of the originals and use a longer rivet to sandwich everything together.

Canoe Flipped!

December 16, 2011


Last Saturday Paul came over for our 4th rivet session on the fuse. After 7 hours we got all the rivets pounded and flipped her over. It feels great to hit such a milestone. I will also feel much better not having to crawl around the inside of the fuse. There’s a few items on the punch list to clean up this week and then I can move on to the various brackets along the longeron.

Here’s a 3/4 view of the fuse. Fun!

And the view from the inside

Lift with your legs!

Paul and I basking in our successful day. Thanks for all the riveting help P-Dub!

Fuse Rivet Session 3

December 5, 2011


Another Sunday. Another visit from P Dub. In 4 hours we were able to get the sides and a lot of the bottom skin finished today.

The rear edge of the bottom skin turned our really nicely. I am going to follow Chad’s lead and fill all the overlapping gaps with proseal to keep the cockpit weather tight.

The intersection of the side, bottom and aft skins came out really nice. A little proseal to close out some gaps and we’ll be done here. I did have to drill out one rivet on the opposite side. I also used longer rivets than spec’d on a couple of the tab flanges here so a good shop head would form.

The last thing we did before knocking off was to seal and rivet the bottom firewall to the 772 skin. I used 3M Firebarrier 2000+ to guard against CO2 fumes and as protection against an engine fire.

Fuse Rivet Session 2

November 27, 2011

Happy Thanksgiving everyone. My last day of freedom before work cycles up again was action packed. My wife ran her forth half marathon this morning. Go Annabelle! This afternoon, Paul headed over for another rivet party.We knocked out more of the side skins and went back to get all the interior rivets that needed to be bucked.

Here’s a couple of photos of the harder to reach rivets in the interior skeleton. The top of the 715/705 rib interface and the bottom is the aft flange of the arm rest.

The fuselage is starting to look whole with less and less clecos attached! Hopefully, we can finish out the canoe riveting with one more major push next weekend.