Archive for June, 2012

Fuel Pump Cover and Misc.

June 24, 2012

The boys were wiped out and asleep before 9pm thanks to three birthday parties in one day. I celebrated by heading into the shop.

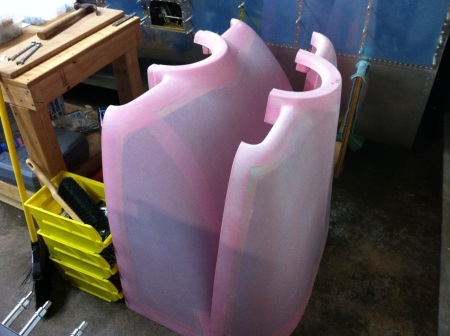
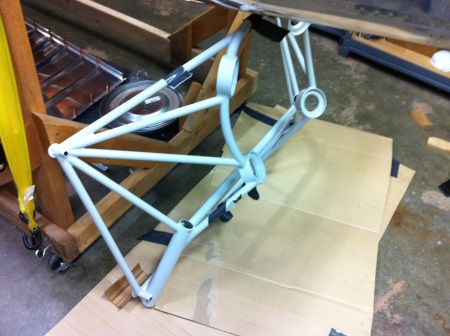
Kurious Oranj is going to be fuel injected. This requires me to stray from the plans a bit to fit the larger electric fuel pump required to pressurize the fuel system. Luckily, this is a common mod. so there’s a number of builder references as well as a optional cover kit from Vans. I settled on the EFii fuel pump. It along with the Vans fuel pump cover pieces arrived last week.

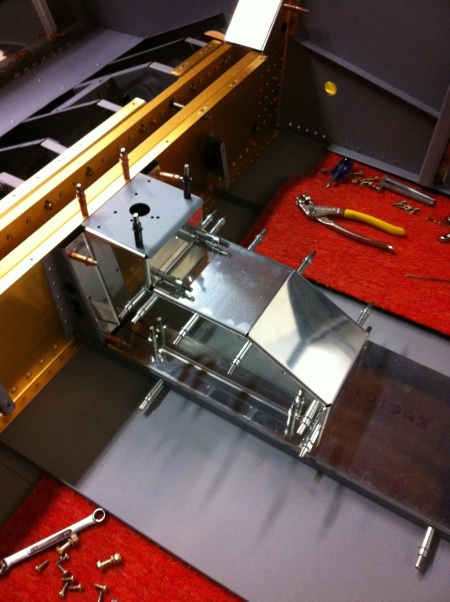
Tonight, I fit the cover together and drilled it to the existing center cover pieces. I’ll need to do a little more drilling and fabricate some brackets to span the center cover in order to mount the fuel pump securely.

Additionally, I prepped all the remaining cabin parts. I now have a big pile of parts to wash/solvent/prime. Also I need to pick an interior paint color so I can order the paint and get the spray equipment in order.
20120624-024735.jpg

Finish Kit Arrives

June 12, 2012

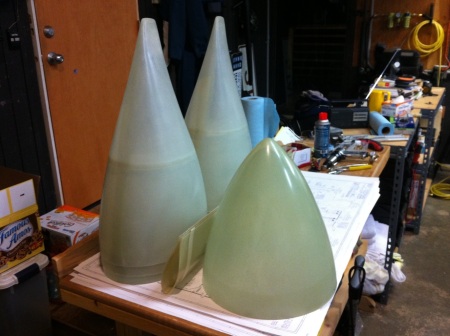
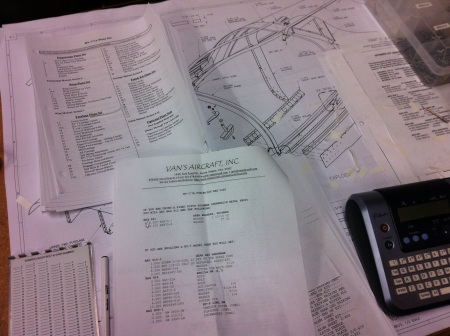
A big box from Vans arrived today. In it was the finish kit for the RV-7. This last subkit contains a lot of the more interesting pieces yklike the canopy, cowling, engine mount, landing gear, wheels, etc. I didn’t snap many pictures as my friend p dub and I spent the afternoon unpacking stuff and checking inventory. Here’s some general picks before calling is a night.

20120612-001101.jpg

20120612-001118.jpg

20120612-001232.jpg

20120612-002111.jpg

Mounting the Flap Motor

June 3, 2012

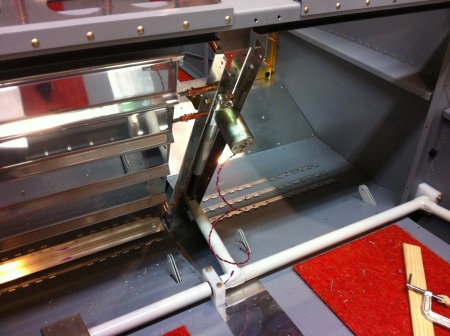
Friday evening I drilled and installed the nutplates for the mid span mounting block that anchors the flap actuator.

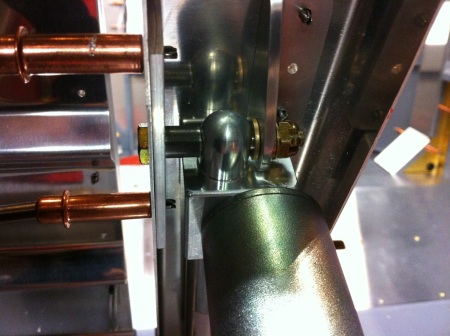
WARNING:Earlier in the plans Vans gives you the option the run the baggage floor above or below the aft seat floor. I choose to run them above. Well… When you install the forward nutplate for the block in this config, you have a stack of two layers (the 705 flange and the aft seat floor sandwiched between the baggage rib and the baggage floor. This created a gap that makes for a poor rivet as I have proven here. I think it’s ok but probably should have shimmed it for better fit.

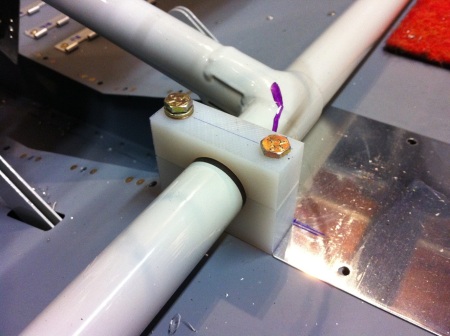
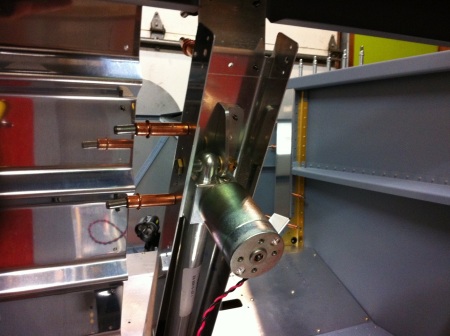
Saturday was off and on work to mount the flap actuator motor. It mounts the the 766A channel using a thick doubler on the flange and and even thicker anchor made out of angle. The trick is to drill everything but the angle rivet holes. Then assemble it all including hooking up the jackscrew to the flap actuator arm. Once it’s all together you back drill the angle using the prepunched holes in the 766A channel.

I finished some random drilling for nut plates. Next up will be finishing the forward covers.

20120603-110441.jpg

20120603-110505.jpg

20120603-110514.jpg

20120603-110525.jpg